-
Log in to your BRAND Account Manager.
-
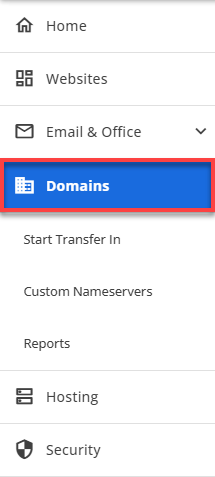
Navigate to the side menu on the left and click Domains.
3. Make sure that the correct domain is selected.
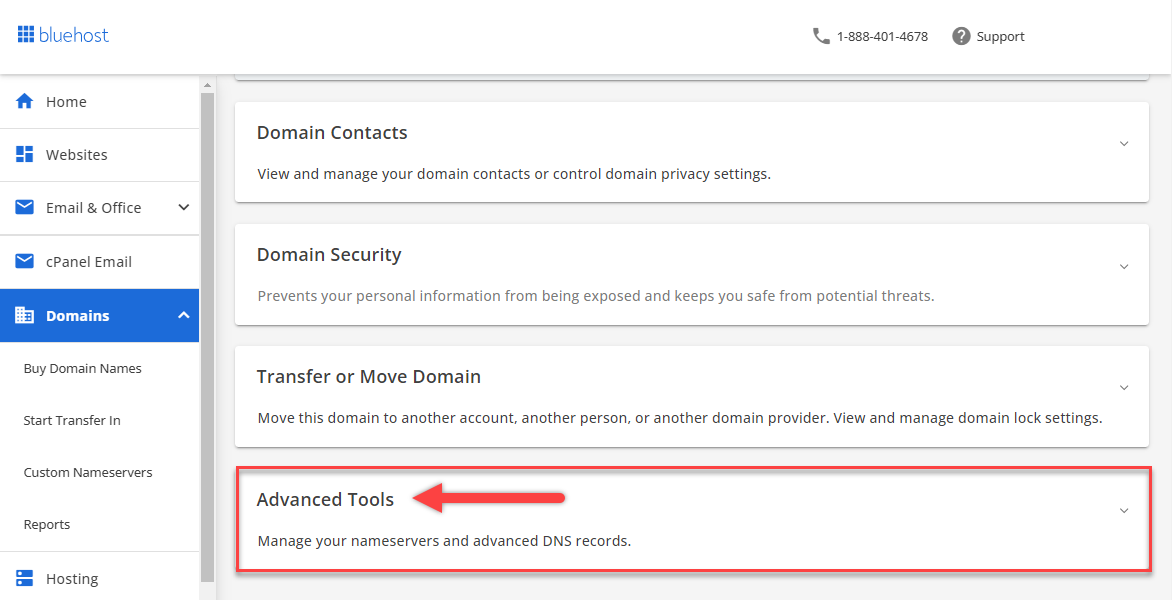
4. Scroll down to the Advanced Tools section and click on it.
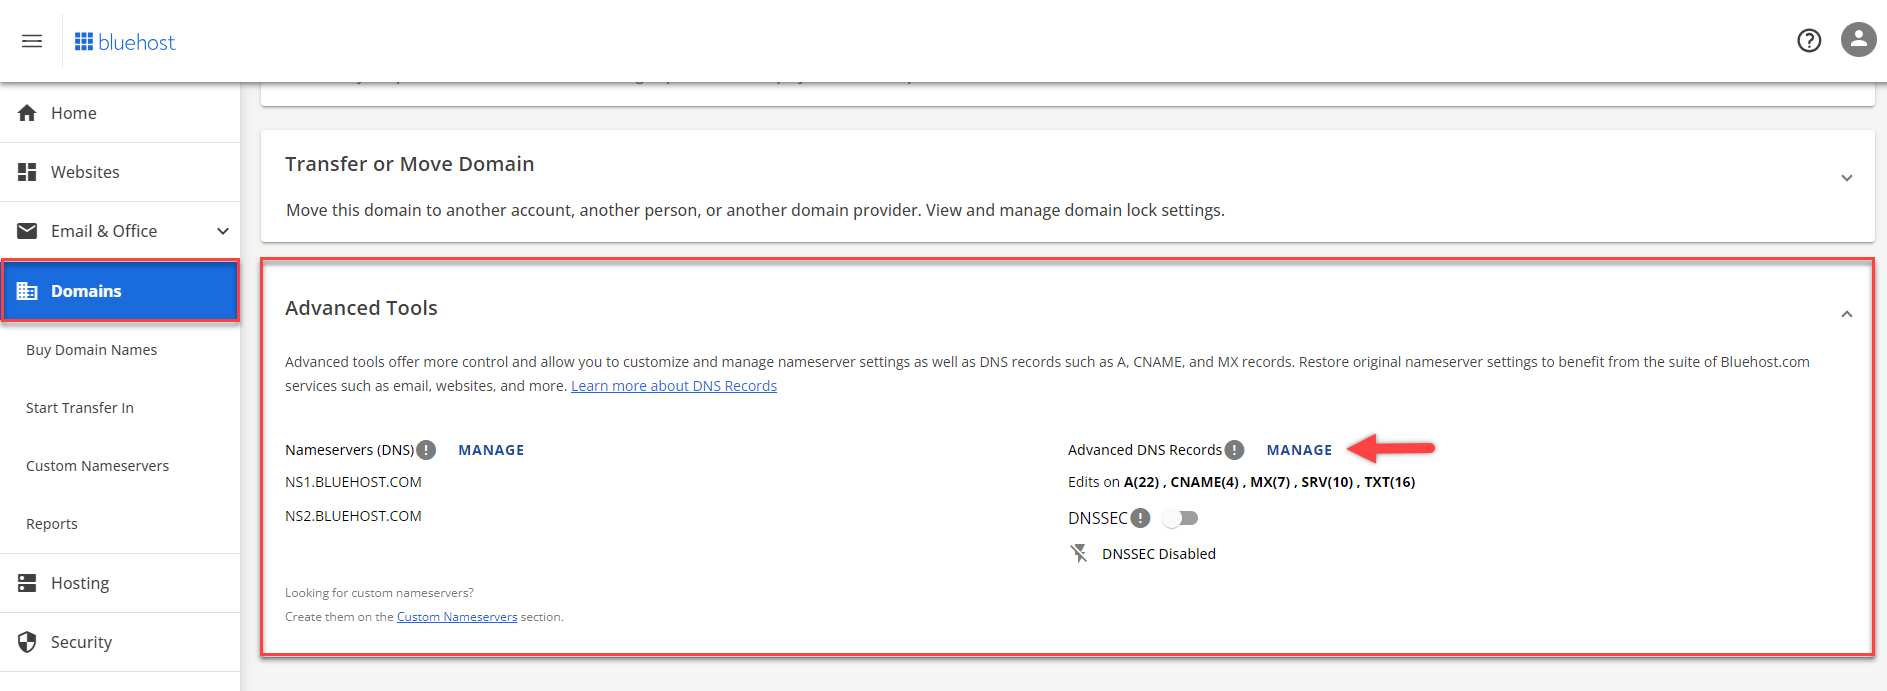
5. Locate the Nameservers DNS option and click the MANAGE button.
6. A pop-up window titled Manage Nameservers (DNS) will appear. To proceed, please click on the Continue button.

7. Input the new nameservers provided by Hostera, and Click the Save button to ensure that any changes you have made are saved.