How to Change Nameservers at NameCheap.com
Changing the DNS for your domain is a straightforward process that involves the following steps:
1. Log in to your Namecheap account.
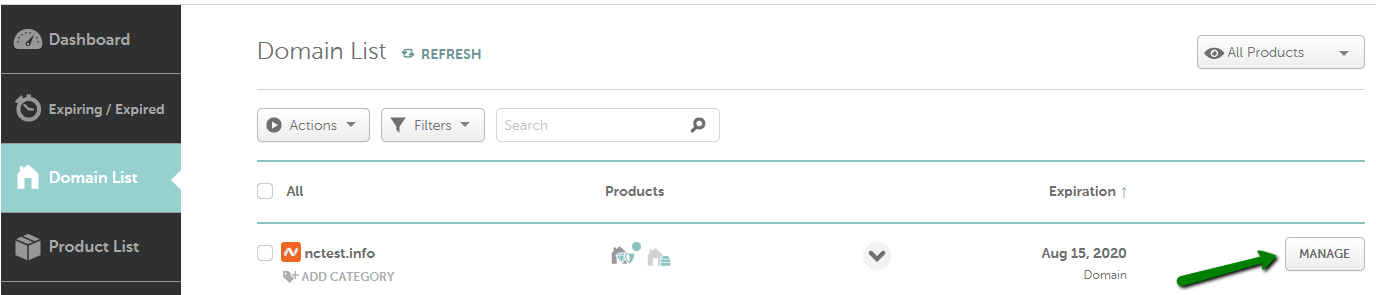
2. From the left sidebar, select Domain List and click on the Manage button next to domain you want to update.
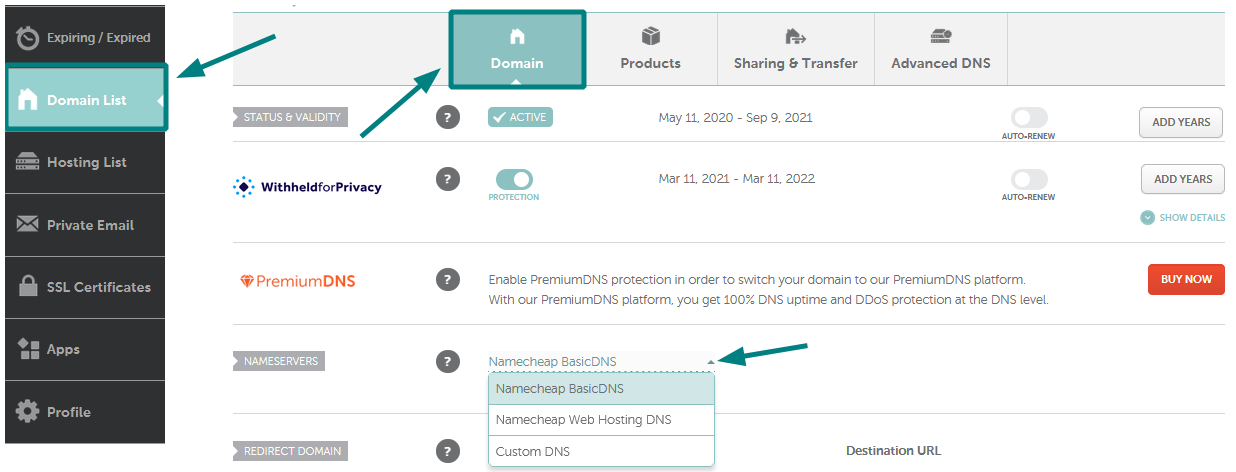
3. There are four options to choose from but we need Choose the following option.
CustomDNS: If you want to point your domain to custom nameservers (for example, your Personal DNS servers or third-party hosting nameservers), fill in the nameservers provided by your hosting or third-party DNS provider and click on the green checkmark to save the changes:
Now you need to enter the provided Hostera's nameservers into the options as shown below to connect Hostera's Hosting with a Domain.
NOTE: Nameservers are part of the Domain Name System (DNS) database that acts as a directory for devices and the IP addresses attached to them. When registering nameservers, an IP address is assigned to them, and unregistered nameservers cannot work correctly with some domains.